Use Google Fonts on Your Website
I remember back in the day when you had to slice up images and go through a bunch of mumbo jumbo if you wanted custom typography on a website. Custom fonts for the web wasn’t invented yet, and you either had to use a lot of images, or you just stuck with the defaults, like Arial, Helvetica, Verdana, and the others that you’re probably familiar with. Now, we have tons of web fonts available, and they are even easier to use on your website. In the video below, I will show you how to use Google Fonts on Your Website.
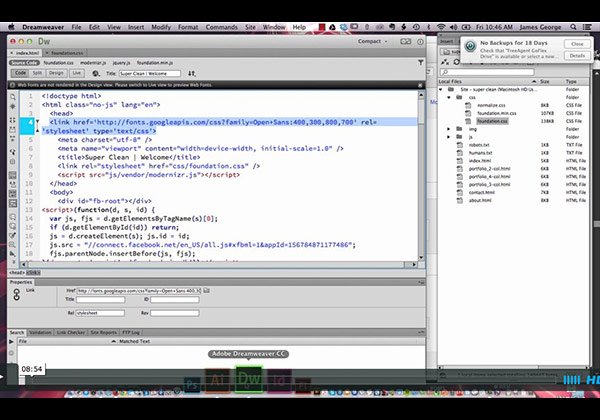
It’s Easier Than Ever to Use Google Fonts on Your Website
With just a simple line of script, you can add a few custom fonts into your website. The important thing to remember is that you should only add custom fonts that you really need. The more fonts you add, the longer your page load time will be. You always want the fastest page speed as possible. All you have to do is click on the fonts that you want, add them to your collection, and then copy the script. Once you’ve integrated the script, all you have to do is set the font in your CSS. You’ll tell it where to show up, as well as what weight to display. This is great for one font family that has multiple weights. You’ll have a lot of typographic variation, while keeping your design consistent.

How Did You Do?
Were you able to Use Google Fonts on Your Website? Did you run into any problems? If so, be sure to leave your questions and thoughts in the comments section below, and I will try to help you as best as I can. Hopefully you found this as easy as I did, and you’re embedding Google fonts in your website like a pro!
Hi James. Thanks for sharing this. Something so simple, yet eloquently explained. Great and well done.